Showing posts with label allergy friendly cooking. Show all posts

Wednesday, August 28, 2013

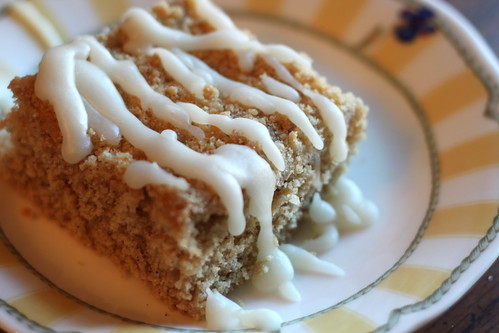
Zucchini Bread... ok, ok, it's more like a Cake;)

So we celebrated my 30-something-th birthday last week! And with any birthday I put in my request for the food:) Since I'm also the head chief I choose something easy for the meal (crockpot BBQ sandwiches) and

 Zucchini bread... ok,ok, it's more like a cake!!
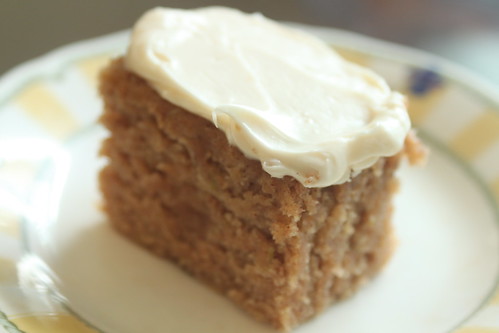
IMG_9337We started making this recipe after a few attempts at some not so great zucchini bread.

The next week we were at my in-laws and was offered a slice of a friend's zucchini bread. I knew it had to be good because it called for icing;) LOL!!

ANyway, we arrived home with my zucchini plants still producing,,,, yippee!! Our turn to make some:)

At first "the fam" was a little hesitant.... all the strange "green" things in it!! But as soon as they had their first bite they were hooked;) After the first attempt I began peeling the zucchini before grating it... of course that probably took out any of the nutritional value, too... hey, it's a cake.... not the meal and not often made (although I totally would make it weekly)!

ZUCCHINI BREAD

3 eggs (or 3/4 cup of applesauce)
IMG_93561 cup oil
2 cups sugar
2 cups zucchini, peeled and grated
3 tsp vanilla
1/2 pkg of vanilla pudding mix
1/2 cup chopped nuts (if desired, I didn't add any)
3 cups all purpose flour
1 tsp baking soda
1 tsp salt
3 tsp cinnamon
1/4 tsp baking powder

Stir together the eggs/applesauce, oil, sugar and zucchini. Whisk (or sift) together the flour, baking soda, cinnamon and baking powder. Add to zucchini mixture. Stir in vanilla, pudding mix and nuts (opt).

Pour into 9x13 pan.
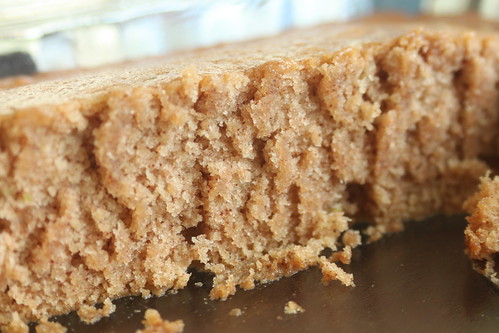
IMG_9348Bake at 325 degrees for 25-30 minutes. Use a cake tester to be sure it's done in the middle.

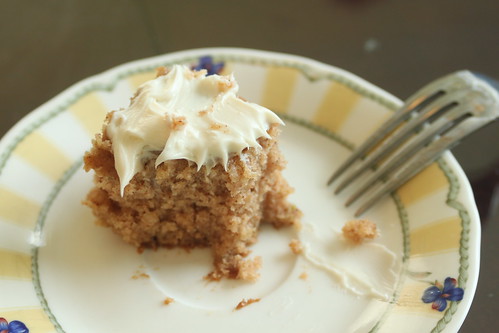
Ice that thing when it's cooled a bit. We use a cream cheese flavored icing (or make your own).

And then enjoy!!!


Tuesday, May 29, 2012

Allergy Friendly, At Home Cinnamon Buns

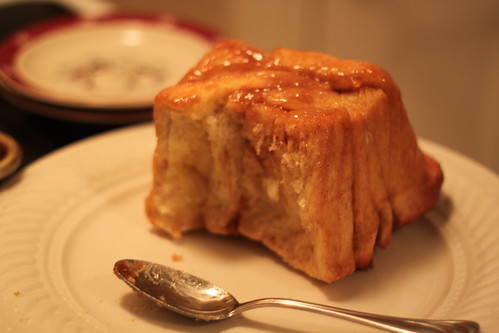
IMG_8779Gone are the days when we can enjoy most types of store bought or mall purchased cinnamon buns/rolls. But they are a treat we really enjoy.

Recently I saw a recipe for a Cinnamon Loaf in a magazine that looked delicious! As I read the recipe I thought "I think I can make this work for us!" So I tried it once, and then for company and then as buns:) Awesome every time, so I thought I'd share;)

Allergy Friendly Cinnamon Loaf/Buns
adapted from Better Homes and Gardens

3/4 milk (we used soy)
1 pkg active dry yeast
1/4 cup butter, melted (we used dairy-free margarine instead, Blue Bonnet Light)
2 Tbs granulated sugar
1/2 tsp baking powder + 1/4 cup applesauce (replaced the egg)
1/2 tsp salt
3 cups all-purpose flour
1/4 cup butter melted
3/4 cup granulated sugar
2 tsp ground cinnamon

For Simple Glaze:
Soymilk, Confectioner's Sugar, Vanilla

1. Heat the milk to about 110 and pour into a large mixing bowl and add yeast. Mix until the yeast dissolves and set aside for 5 minutes.

2. Beat together the 1/4 cup butter,2 Tbs sugar, applesauce, baking powder, and salt into the yeast mixture until it's all mixed up;) Add half the flour and beat on low until just mixed then mix on medium for a few minutes more. Stir in remaining flour. Shape into ball and transfer into an oiled bowl. Cover and set aside in a  warm place to rise 45-60 minutes or almost double the size).

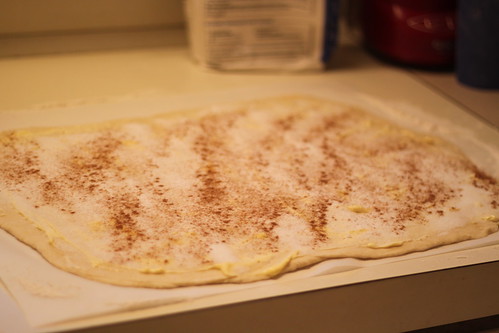
3. On lightly floured surface roll dough to a large rectangle (they suggest 20x12-inches). Brush with the 1/4 melted butter, then cover it with sugar and cinnamon.
IMG_8332

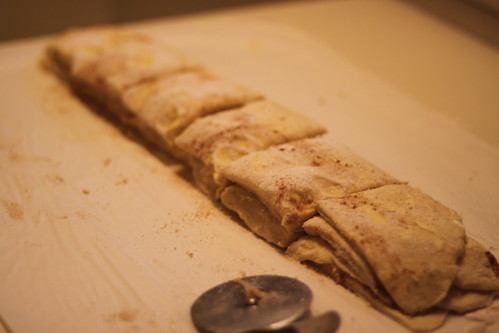
Then cut it into five strips, stack them and then cut into 6 squares.
IMG_8334


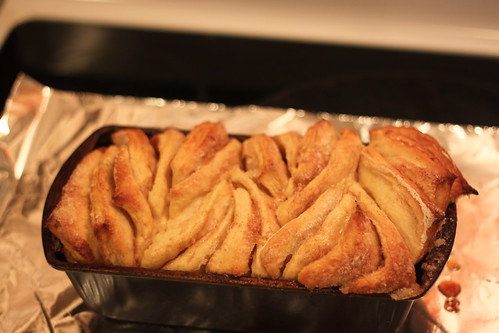
4. In a lightly buttered (sprayed with oil) loaf pan, loosely stack the squares into the pan. Let rise for 45 minutes or until almost double in size.
IMG_8336

5. Bake loaf for 30 minutes or until golden brown at 350. Cool in pan... or eat it hot:)
IMG_8340

6. We like to put a little of a simple glaze over the top;) Just mix up 1 cup powdered sugar, 1/2 tsp vanilla and 1 or 2 Tbs milk (soymilk for us) until you get the right consistency.


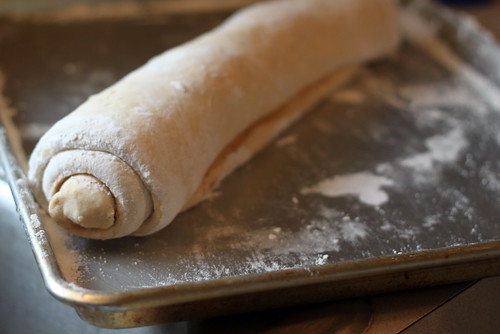
Anyway, we made it twice like our tweaked directions from Better Homes and Gardens, but then the thought of having round buns like the mall-type drove us to venture out a little more and roll it up instead of cutting it up into squares.

IMG_8769

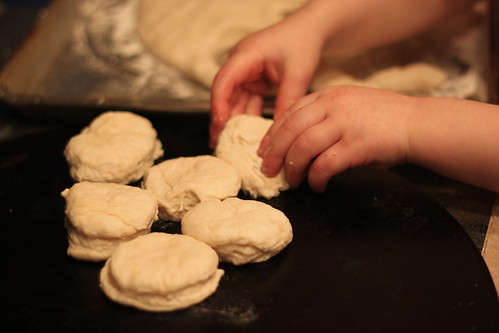
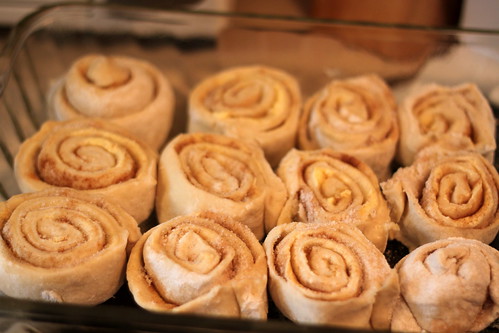
We did cut them into rolls and then placed in the pan to rise.
IMG_8772

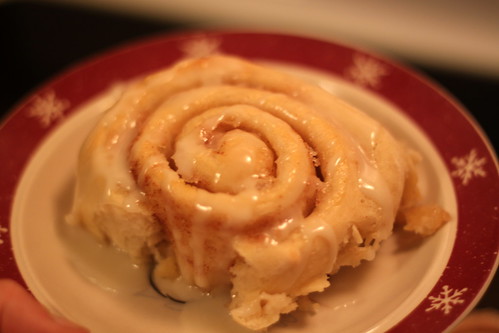
IMG_8779They baked and we ate them hot with the simple glaze....

oh, my!! What a treat:)


Wednesday, May 9, 2012

Making Sunday Restful & Cheese-less Pizza

Sunday is the day to rest and enjoy our families after we have set aside time to be with our church family.

I'll be honest ...

over here Sundays are just as hard or harder than our every day!

I mean I still have 6 mouths to feed, 4 bodies to dress and to look clean, and be out the door around 10am:) Then we get home with 4 (or 5, or 6) starving people and this Momma has to get a meal on the table, again!

After a month or two of some not.at.all restful Sundays we have begun to make some changes! And thankfully this week we had about as restful as a Sunday that we've had in a long while! It was delightful;)

Here is what we have done:

1. Laying clothing out the night before! We've done this for awhile now and know that when we move and no longer live next to our church, we'll have to start ironing the night before. And packing Nate's church bag, too:)

2. It seems like the last few Sundays we have started a little food routine for Sundays that makes it pretty fun, something to look forward to and RESTful for Momma;)

First we start Saturday night by trying to have a big meal that always produces leftovers;)

And then after the kiddos are tucked in for the night, I bake Banana Bread.

So breakfast Sunday morning is OJ or soymilk, fruit and Banana Bread:) And it's a treat that we really look forward to, especially the kids who hear me in the kitchen or begin to smell the bread in the oven as they fall asleep! I slice it up in the morning and the kids help themselves. The recipe makes two 8 inch loaves and we have yet to eat both with the kids having as much as they want:)

When we return home from church, we enjoy leftovers... sometimes from Saturday night or Friday:) Leftovers on Sunday afternoon means that Momma doesn't have as much kitchen duty! And fits perfectly into our "cleaning out the fridge" before trash day, if we have anything that has been lurking too long in the fridge (trying not to have wasted food!!).

IMG_8428After almost 6 months of not having pizza because we can't find dairy-free cheese locally, we have gone cheeseless with our homemade pizzas:) We think it's delicious.

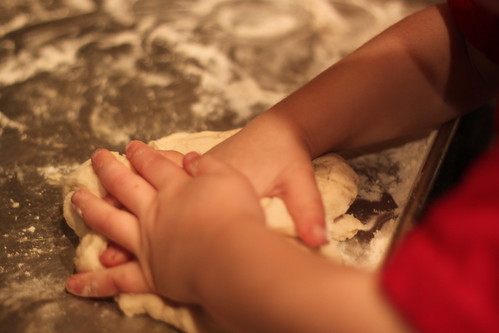
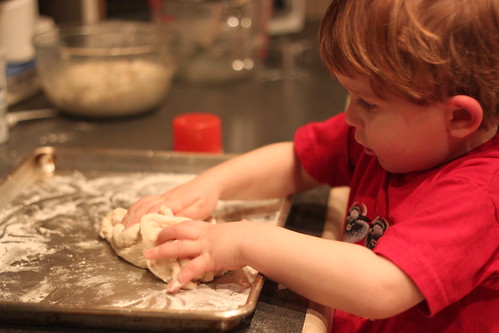
 It's really cheap without the expensive vegan cheeses. Since we no longer have church on Sunday nights, it's been fun to make our pizzas together... I make the dough and the kids make their own with adding the amounts of pizza and toppings they like.


Pizza Dough Recipe
(adapted from here but we love the recipe from Food Allergy Mama's Baking Book)

Ingredients:

1 package active dry yeast
1 cup warm water
1 T. sugar
2 T. olive oil
2 cups all-purpose flour, plus more as needed
1 t. salt
2 tsp of Italian seasoning (I add this!!)

Preparation:

1. In a large mixing bowl, combine the yeast and warm water, mixing  until combined. Allow the mixture to rest for about 5 minutes, or until bubbly.

2. Add the sugar, olive oil, flour, and salt, adding more flour as necessary until forming a soft dough. The dough should pull away from the sides of the bowl and should feel just a little sticky. On a lightly floured surface, knead the dough for 5 to 7 minutes, or until elastic.

According to Food Allergy Mama, the dough doesn't have to rise for an hour!! So we don't wait around, we make our dough and get to work putting on the toppings;)

Adding a quick salad or some fruit and we have a fun meal together.

We've been enjoying this food routine on Sundays.... I'm sure we'll tire of pizza after a while and go back to making breakfast or something else easy that we can make together;)

3. One of the reasons our Sundays looked soo much like every other day was that there was no time to rest (at least for the parents). With our older three children (7,6,5 yrs old) no longer napping, we'd go from the kitchen to playing outside or refereeing inside play. So from 2 - 8pm it was the same old, same old.... "play nice", "no, please don't do that", "wear your helmet", "yes, I'll get that".... serving the kids. I think it's needed as a parent... but there needs to be a time to rest as well.

So we re- instituted naps on Sunday ! Everyone! Everyone lays in their beds and quietly rests, reads, colors, writes for enough time that Mom and Dad get rest! It is amazing what an hour (or two) nap does for this Momma;)

IMG_84134. Time for each other!! While we've been teaching this semester (both Brian and I teaching two classes) a lot of our weekend has included working to "prepare for the next week"! On Sunday afternoons though, it's nice to take a break from "work" and take some time to play with the kids.... truly refreshing for our relationships with each other. And this just takes discipline on our parts to complete the work before Sunday or do it after the kids head to bed:)

Last Sunday we did all of these things....

Sunday was truly relaxing and refreshing!! Feeding our hearts at church, our bellies with simple meals and our relationships with time together!! The Lord knew families needed a day set aside to worship and spend time with one another:)

Linking up to...
Tuesdays at the Table @ All the Small Stuff

Tasty Tuesday @ Balancing Beauty and Bedlam
Blessed with Grace
Tasty Tuesday @ 33 Shades of Green 
Allergy Free Wednesday
Works For Me Wednesday

Tuesday, April 10, 2012

Allergy Friendly, no Bake Energy Balls

We tried a new recipe a week or so ago...

IMG_0856
I challenged myself at New Years to try new foods... not just try but to bring in new flavors and dishes to our routine of unoriginal meals. It's challenging to cook for younger children and food allergies... there are already soo many limits to our diets and choices.

But I went out on a limb on this simple recipe. First it came from a mom of little ones;) And it was easily adaptable to our food allergies. It was pretty easy to prepare and I loved that it didn't include soy, milk products, wheat or sugar:) YAY!!

Before I give the exact ingredient list and the "how do", I want to credit Smashed Peas and Carrots for sharing this delightful treat!! And the recipe I share below is how we adapted her recipe to fit our needs, she includes many different variations of this recipe !

IMG_0835

No-Bake Energy Bites  

1 cup oatmeal
1/2 cup sunflower seed butter
1/3 cup honey
1 cup coconut flakes
1/2 cup ground flaxseed
1 tsp vanilla
1/2 cup chocolate chips


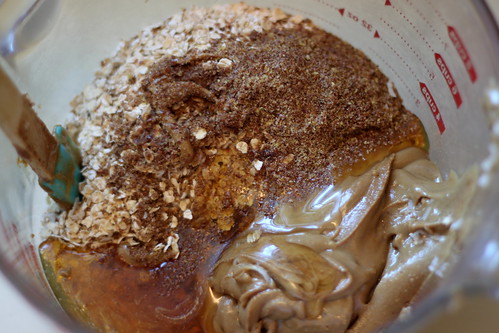
We mixed the first 6 ingredients together (everything but the chocolate chips). I found that it just mixes better without the big chocolate chips.

IMG_0842

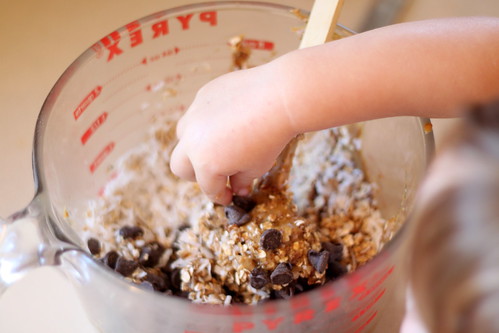
Then we added the chocolate chips :) And there are some little fingers stealing some chips from the bowl, too!
IMG_0847

Stick the mixture in the fridge for a half an hour to firm up a bit:) And then make balls and enjoy!
IMG_0856

We made balls when we wanted them. We left the spoon in the mixture in the fridge for that purpose;)

As far as whether the kids liked them....

Well, Chris (6 yrs) scared me to death. He tried a ball and then another. He was determining whether he liked it or not when he started complaining his throat  hurt and then he started gagging and threw up.... lovely! Although I had thought it was an allergic reaction and HAD given him Benadryl, I later remembered that he had had no hives on his face or mouth. He later told me it has something weird in it that got stuck in his throat... probably the coconut.... phew! A little bit scary, especially since Brian was out-of-town that part of the week!

Anna (7 yrs)  was not a fan either :(

But Lydia (5 yrs) and Nate (23 months) LOVE them!! They will easily help make and eat them!

I also packed some for Brian's lunch one morning! He liked them and shared them with a co-worker:) LOL!!

So, 4 out of 6 isn't too bad, especially for something with healthy proteins and a treat without wheat or sugar.

Linking up to...
Tuesdays at the Table @ All the Small Stuff

Tasty Tuesday @ Balancing Beauty and Bedlam
Blessed with Grace
Tasty Tuesday @ 33 Shades of Green 
Allergy Free Wednesday
Works For Me Wednesday

Friday, March 9, 2012

Nate Makes Lunch


He wanted to go outside
IMG_9988

But Momma had to fix a quick lunch
IMG_9987

so he helped;)
IMG_9990


SOOC Saturday

Tuesday, February 14, 2012

"Steak-Ums" Fajitas

Since starting to "teach" classes online for the local community college in January, I've been in a constant state of trying to "keep up".

Obviously my family and homeschooling takes priority.
Cooking is a close second.
Then my classes.
I clean during the down times... 5 minutes here, 10 there. 
Then everything else I want to do gets crammed in during those late nights... or at least after the kids go to bed;)

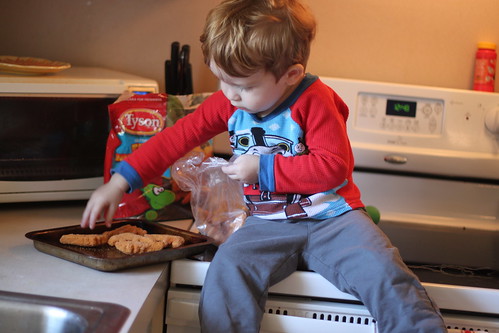
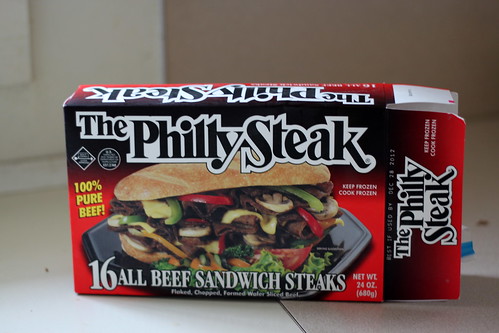
IMG_9315So when I saw these BOGO at the grocery store this week... I took the bait:)

I figured buying these and making quick "steak" sandwiches with hot dog buns would save us from a quick meal out at McDs! And while these "steaks" aren't the healthiest thing out there, at home there are ways to make it a little healthier;)

Like draining the fat/liquid after cooking and NOT cooking the veggies in it! Yes, Veggies:)

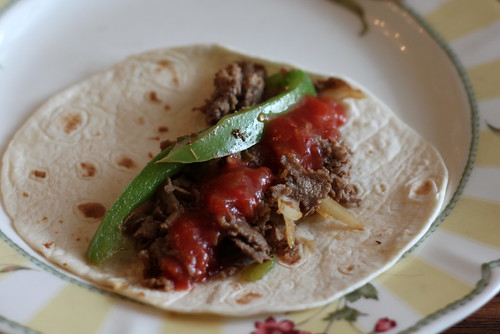
Either in a bun or a tortilla... throwing in some sauteed veggies HAS to make it yummy and a little healthier;)

To make these fajitas :

I chopped up the veggies.... green pepper and onion! And I sauteed the veggies quickly. Then set them aside.

I sauteed in the meat in a non-stick electric skillet. Then drained the liquid/fat. And patted the meat with a paper towel as well;)

I put everything back into the skillet to make it REALLY hot:) Added in some McCormick Fajita mix and some water;)

Warm the tortillas. Grab the salsa out of the fridge....


IMG_9313

And there is a super quick meal;)
(no joke... from start to on the table... less than 15 minutes!)

Linking up to...
Tuesdays at the Table @ All the Small Stuff

Tasty Tuesday @ Balancing Beauty and Bedlam
Blessed with Grace
Tasty Tuesday @ 33 Shades of Green 

Monday, January 30, 2012

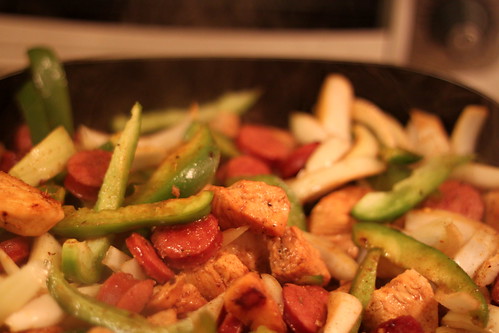
Caribbean Jerk Chicken

I've been slacking a little in trying new recipes. Instead I have been falling back on those I know we like but haven't had in a little while;) Which still adds some variety, right:)

This is one of our favorites:) Very easy especially if you do a little planning ahead by having the chicken already in the freezer cut in cubes because I detest cutting up raw chicken!


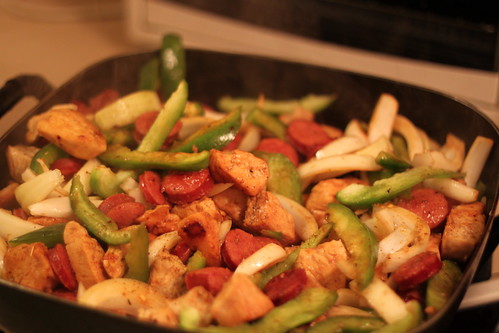
IMG_8913-1Caribbean Jerk Chicken

McCormick Caribbean Jerk Seasoning

Raw Chicken cubed

Sausage links cut into circles (we use Hillshire Farms)

Oil

Green Pepper & Onion, cut into strips

Canned or fresh Pineapple

Salt, pepper

Saute chicken in just a bit of oil and some seasoning. Cook until it's no longer pink in the middle, but not over cooked!!

Add in sausage, green pepper and onion.

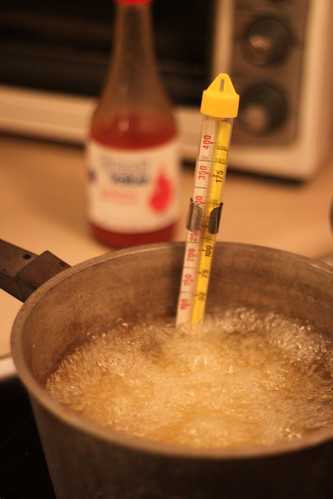
I then add some juice from the pineapple, some more seasoning, a sprinkle of salt and pepper. You could put the pineapple in at the end so it is warmed too, but right now my family prefers the pineapple on the side and cold.

Serve with rice!

This also make great kabobs:)
IMG_8910-1

Easy, simple, no food allergy issues with this one! And everyone likes it;)

I also am trying to better organize my recipes on and off the blog;) There is a new page titled Our Recipes that contains are favorite recipes that are all dairy, egg and peanut-free for our family! 

Linking up to...
Tuesdays at the Table @ All the Small Stuff

Tasty Tuesday @ Balancing Beauty and Bedlam
Blessed with Grace
Tasty Tuesday @ 33 Shades of Green 

Pin It

Tuesday, January 24, 2012

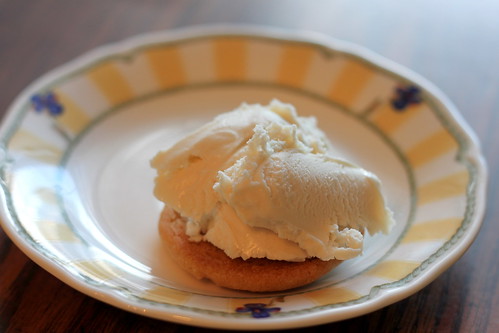
Dairy & Egg-Free Ice Cream Sandwiches


We are taking two of our favorites and putting them together for our "new" recipe this week :)

The first is our favorite dairy and egg-free chocolate chip cookie recipe from Food Allergy Mama.

IMG_8982The recipe is totally worth re-posting... with a few tweaks:)

THE BEST CHOCOLATE CHIP COOKIE
from Food Allergy Mama

2/3 c. dairy free shortening
1/2 c. brown sugar
1/2 c. granulated sugar
1/2 to a whole box of Jello vanilla pudding mix (my tweak)
1 tsp. good quality vanilla extract
1/4 c. unsweetened applesauce
1 3/4 c. all purpose flour
1/2 tsp. baking soda
1/2 tsp. salt
1 c. mini dairy free chocolate chips

Preheat oven to 375 degrees and line a baking sheet with parchment paper. In a mixer fitted with the paddle attachment combine the shortening, brown sugar, granulated sugar, vanilla and applesauce. In a separate medium bowl combine the flour, baking soda and salt with a wire whisk. Add to shortening mixture and combine until creamy. Stir in chocolate chips and drop with a cookie scooper onto prepared baking sheet.

Bake 12-14 minutes (we usually only bake them about 9 minutes) or until lightly brown. Cool slightly on baking sheet and serve!

** I NEVER make just ONE batch. I always double it... always! Whether we have no other sweets in the house or someone needs to bring a snack or we are wanting to share!


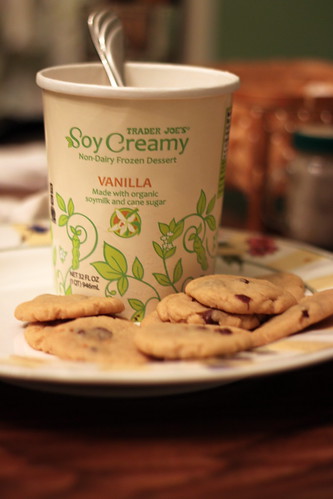
The second favorite for this recipe is Trader Joe's soy ice cream!!

I have to be honest, I detest MOST non-dairy ice creams!! I don't think they are worth the calories;)LOL!!

But Trader Joe's has some fantastic soy ice cream making skills;)  We purchase ice cream (and chocolate chips) while we visit with family and then transport it all packed up in multiple coolers to get it home! Or we make them bring us some when they visit;) Thanks, MOM!!!

Cookie, Trader Joe's Soy Ice Cream...
IMG_8829

and another Cookie;)
IMG_8830

A delicious "new" desert for us that is delightful to eat:)

IMG_8835

IMG_8986

Linking up to...
Tuesdays at the Table @ All the Small Stuff

Tasty Tuesday @ Balancing Beauty and Bedlam
Blessed with Grace
Tasty Tuesday @ 33 Shades of Green 

More Works for Me Wednesday @ We Are That Family!

Pin It

Tuesday, January 17, 2012

Buffalo Chicken Wings

I haven't shared much about my many resolutions for this New Year... right now I'm just trying to be a good Mom and keep up :/

One of my goals though through the year is to try out some new recipes:) I feel like we've been in such a food rut, just eating what the kids like and that is easy to fix, and I'm ready to make a change. Put more effort into meals  and to mix up our meals a bit.

So on top of everything else we have going on, I'm going to try to cook, bake, or create a new recipe each week or maybe more and just share one each week!

We had chicken wings on sale last week and I thought I'd try a Buffalo Chicken Wing recipe that I thought Brian would like. Something I know he would like to eat while we're out but couldn't because of his food allergies (milk, and sensitivity to garlic).


Restaurant Style Buffalo Chicken Wings
recipe from allrecipes.com and adapted to fit us;)

IMG_8812Ingredients

1/2 cup all-purpose flour
1/4 teaspoon paprika*
1/4 teaspoon cayenne pepper*
(I didn't have the paprika or c.pepper, so I used 1/4+ of chili powder)
1/4 teaspoon salt
10 chicken wings
oil for deep frying
1/4 cup butter (light Blue Bonnet)
1/4 cup hot sauce
1 dash ground black pepper
1 dash garlic powder (I left this out)

Directions

1. In a small bowl mix together the flour, paprika, cayenne pepper and salt. Place chicken wings in a large nonporous glass dish or bowl and sprinkle flour mixture over them until they are evenly coated. Cover dish or bowl and refrigerate for 60 to 90 minutes.
IMG_8794

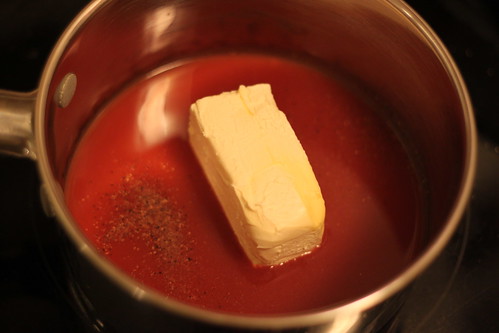
2. Heat oil in a deep fryer to 375 degrees F (190 degrees C). The oil should be just enough to cover wings entirely, an inch or so deep. Combine the butter, hot sauce, pepper and garlic powder in a small saucepan over low heat. Stir together and heat until butter is melted and mixture is well blended. Remove from heat and reserve for serving.
IMG_8797

3. Fry coated wings in hot oil for 10 to 15 minutes, or until parts of wings begin to turn brown. Remove from heat, place wings in serving bowl, add hot sauce mixture and stir together. Serve.
IMG_8806

IMG_8812I was a little worried how leftovers would taste, but I didn't need to worry!! Brian ate all that I made for him:)
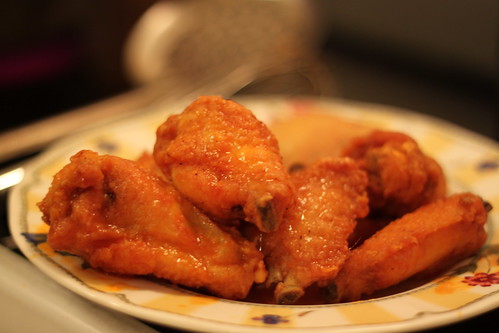
And he is wanting to invite over friends for a party so I will make some more;)

Just an FYI... these are obviously are a treat for us:) And the kids were not impressed... LOL!! They would barely smell them!
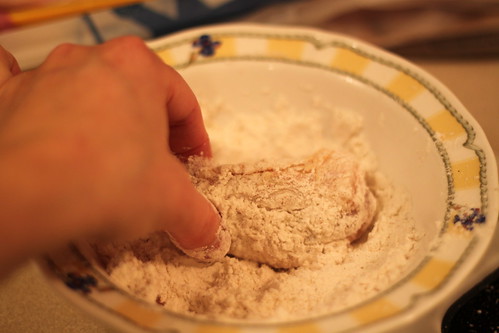
* I didn't have the paprika or c.pepper, so I used 1/4+ of chili powder.

Linking up to...

Tuesdays at the Table @ All the Small Stuff

Tasty Tuesday @ Balancing Beauty and Bedlam
Blessed with Grace
Tasty Tuesday @ 33 Shades of Green


Pin It

Tuesday, November 1, 2011

Dairy & Egg -Free (and could be Gluten-free) Pumpkin Bread

Perfect, light and seasonal treat....

I've already made two batches and have enough pumpkin for another;)

Dairy & Egg Free Pumpkin Bread
1/2 cup margarine
1 cup sugar

IMG_98941/2 tsp cinnamon
1/2 tsp nutmeg
1/4 tsp ginger
1 3/4 cups barley flour (i used regular white flour)
1 tsp baking soda
1/2 tsp salt

2 tsp baking powder
1/2 cup water (divided)
1 tsp vanilla
1 cup canned pumpkin

Preheat oven to 350.

Cream margarine and sugar.

Sift together cinnamon, nutmeg, ginger, flour, baking soda and salt.

Dissolve baking powder into 1/4 cup of water. Mix in remaining water, vanilla and add in pumpkin. Cream together with margarine/sugar mixture.

Combine wet and dry ingredients and blend together well;)

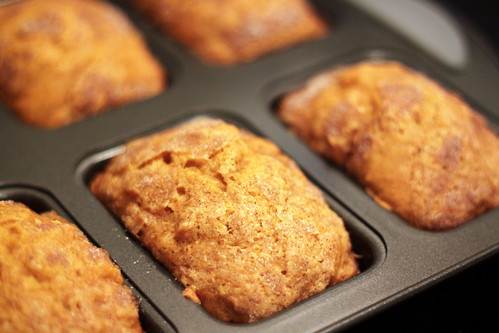
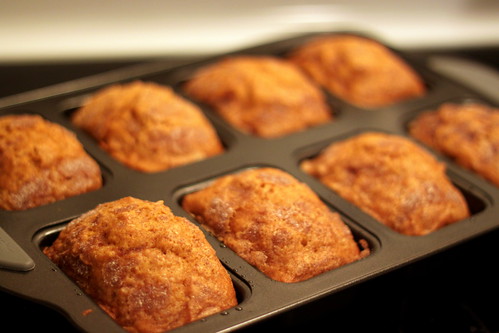
Pour into loaf pan. Bake 1 hour! (I baked for 30 minutes b/c I used smaller pans!)

IMG_9891

Linking up to...

Tuesdays at the Table @ All the Small Stuff

Tasty Tuesdays @ Balancing Beauty and Bedlam
and

Tuesday, October 11, 2011

Dairy-Free, Egg-Free Cinnamon Coffee Cake


With the absence of dairy-free, peanut-free chocolate chips in our house. We have had to search out some more treat ideas.

This is one of my favorites from my favorite food allergy author (simple ingredients, easy recipes). I thought I'd share:)
DAIRY, EGG AND NUT FREE SIMPLE COFFEE CAKE

2 1/2 c. unbleached all purpose flour

1 3/4 c. light brown sugar, packed

1/4 tsp. salt

IMG_91642/3 c. dairy free shortening (I use plain Crisco)

2 tsp. baking powder

1/2 tsp. baking soda

1 tsp. ground cinnamon

1/2 tsp. ground nutmeg

1 c. dairy free buttermilk (1 c. soy or rice milk mixed with 1 T. white vinegar, let stand 5-10 minutes)

2 T. water

1 tsp. vanilla extract

Preheat oven to 375 degrees and spray a 13 x 9 glass Pyrex dish with dairy free baking spray. Set aside.

In the bowl of a mixer combine flour, brown sugar and salt. Cut in the shortening with your fingers or a pastry blender until it resembles coarse crumbs. Reserve 1/2 c. of mixture and put aside to be used as the crumb topping later.

Add the baking powder, baking soda, cinnamon and nutmeg to the remaining crumbs in mixing bowl. Stir until combined. Add the water and vanilla to the “buttermilk” mixture, and combine with the dry mixture. Do not overmix, small lumps are fine. An overly smooth batter will not produce a tender coffee cake so use a light hand when stirring.

Pour batter into prepared baking dish an sprinkle with reserved 1/2 crumb topping. Bake 20-25 minutes or until cake tester/toothpick comes out clean. Cool slightly and serve warm.
Credit to Food Allergy Mama!!

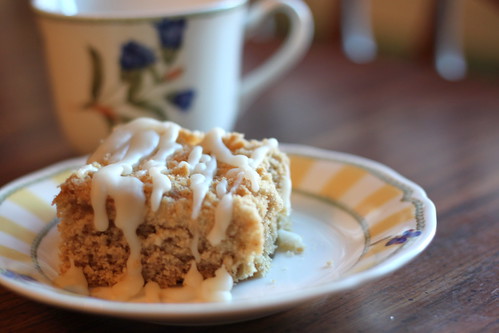
IMG_9162

And since we never leave a recipe alone (and really like sugar). I made a simple icing from powdered sugar, drop of vanilla and soymilk beat together until it's smooth but not watery!! Then we drizzled it on top:)

Linking up to...

Tuesdays at the Table @ All the Small Stuff

Tasty Tuesdays @ Balancing Beauty and Bedlam
and